Has your old notebook become too slow after switching to Windows 11? Then Google’s new “ChromeOS Flex” could help you. We’ll show you what’s behind it and how to get the Google system on your laptop.
TABLE OF CONTENTS
1-Why ChromeOS?
2-The ideal solution for old notebooks
3-Try it risk-free before installing it
Prepare USB stick
Test ChromeOS
Install Chrome OS
Between Christmas and New Year , many have the day off and spend the time at home. There are often technical problems to be solved here. Has a computer or notebook become too slow? Then there are several ways that can help. Changing from a hard drive to a modern SSD can work wonders for just a few euros .
But even then, many computers with the complex Windows system reach their performance limits. Or they are simply not compatible with a modern Windows 10 or Windows 11. An alternative operating system is available here. However, MacOS is not freely available and Linux is far too complicated.
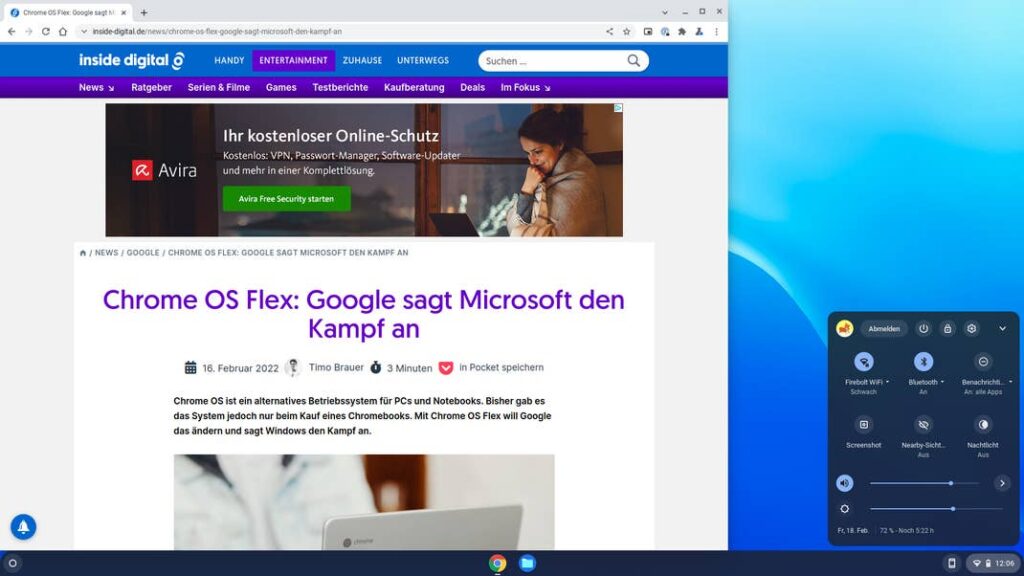
The alternative is called ChromeOS and comes from Google. The operating system comes to you with a full-featured Chrome browser and a few other tools like a files utility. So far, the Google system was only available on so-called Chromebooks. However, you can install the new ChromeOS Flex on any notebook or desktop PC. All you need is a USB stick. We will show you – step by step – how the installation works.
WHY CHROMEOS?
ChromeOS is fundamentally different from Windows. While Windows lets you install tons of programs for whatever purpose you want, ChromeOS is basically just a Chrome browser with a super slim system underneath. The idea is based on the fact that you can easily use all applications on the web. As a result, the system also runs on weak hardware and enables very long battery life.
The handling is very easy. To get started, all you have to do is set the language, connect to a WiFi network and log in with a Google account. No countless options, cumbersome driver installation, time-consuming updates and other annoyances. In addition, you do not need a virus scanner and all data is automatically backed up if your notebook breaks down or is stolen.
ChromeOS is suitable for all tasks that you can do in the internet browser. Surf the web, chat, check email, edit documents, and more. The system is not suitable for gamers, for professional photo and video editing and for all other tasks for which you are dependent on classic Windows programs. So far, ChromeOS has only been pre-installed on so-called Chromebooks – i.e. notebooks that have been specially designed for use with the Google system. This is now changing with the new Flex variant.
THE IDEAL SOLUTION FOR OLD NOTEBOOKS
ChromeOS Flex is actually intended for companies that want to convert their existing hardware to the new Google system. But private users can also install and use the new system on their PC or notebook free of charge.
Does your old notebook take several minutes to boot up? The browser hangs when loading each website and pop-ups keep popping up and asking you to update some program? Then you could get your notebook running again with ChromeOS Flex. That’s how it’s done:
TRY IT RISK-FREE BEFORE INSTALLING IT
Trying out ChromeOS Flex is dead simple. All you need is an empty USB stick with at least 8 gigabytes of storage space. You can try the new system without installing without replacing your old system.
Google has also created a list that lists all officially supported notebooks and computers. However, this is not complete, so the system also worked without any problems on other models in our test.
Prepare USB stick
Step 1: Open the Chrome browser on your computer. Download and launch the Chromebook Recovery Utility from the Chrome Web Store. You can find the program in the Chrome browser by clicking on the puzzle piece icon at the top right.
Step 2: The program will open in a separate window. Click on “start now”.
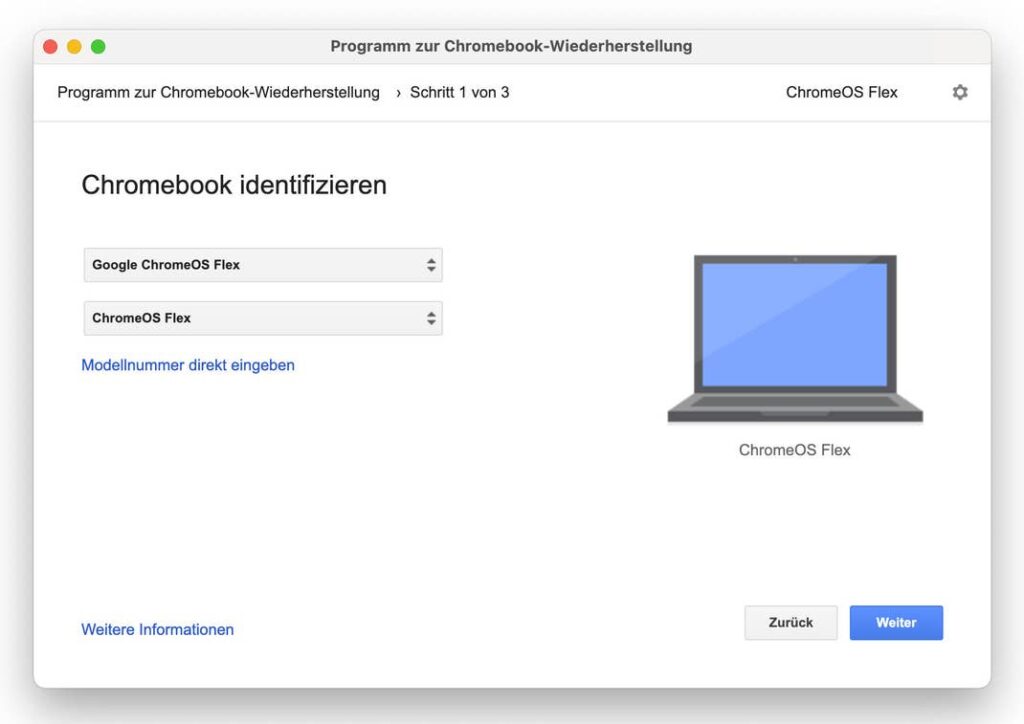
Step 3: Click on “Select a model from a list” and select the manufacturer “Google ChromeOS Flex” and the product ” ChromeOS Flex ” from the list.
Step 4: Insert and select the USB stick.
Step 5: Click on “Create Now”. Warning: All data will be deleted from the selected USB stick.
Test ChromeOS
With the finished USB stick, you can test ChromeOS Flex on your PC without any risk. Since the system runs directly from the stick during testing, it is noticeably slower than in regular use.
Step 1: Shut down the computer and insert the stick. Boot the computer from the USB stick. This is usually done with the keys F2, F8, F9 or F12. You can find out more about this in the manual for your notebook.
Step 2: Once ChromeOS is launched, you have two options: Install or just try it out. Click on try and then on “next”.
Step 3: Now you have to connect to your WiFi network and accept the terms of service.
Step 4: You will then be asked who is using this device. Click below on ” Use as a guest ” and the system will start.
Now you can try out and test ChromeOS Flex at your leisure. Do not you like it? Simply shut down, remove the USB stick and everything is back to normal. However, if you want to use the Google system permanently, you can install it on your computer.
Install Chrome OS
Caution: During the installation, the entire hard drive of your computer will be erased. So back up all important data beforehand.
Step 1: Click on the WiFi and time icon in the lower corner and select “End Guest Session”. If your computer is off, first follow steps 1 through 3 above.
Step 2: Now you will be asked again who is using this device. Click “Install ChromeOS Flex” at the bottom. You have to confirm this twice more, as this step will permanently overwrite the previous operating system.
Step 3: According to Google, the installation can take up to 20 minutes. However, newer notebooks are finished much faster. You can then remove the stick and restart the PC.
ChromeOS is now fully installed. To set it up, all you have to do is set the language, connect to a WiFi network and log in with a Google account.
Learn more about ChromeOS with our Chromebook Buyer’s Guide. Do you have further questions? Then we try to help you in the comments.